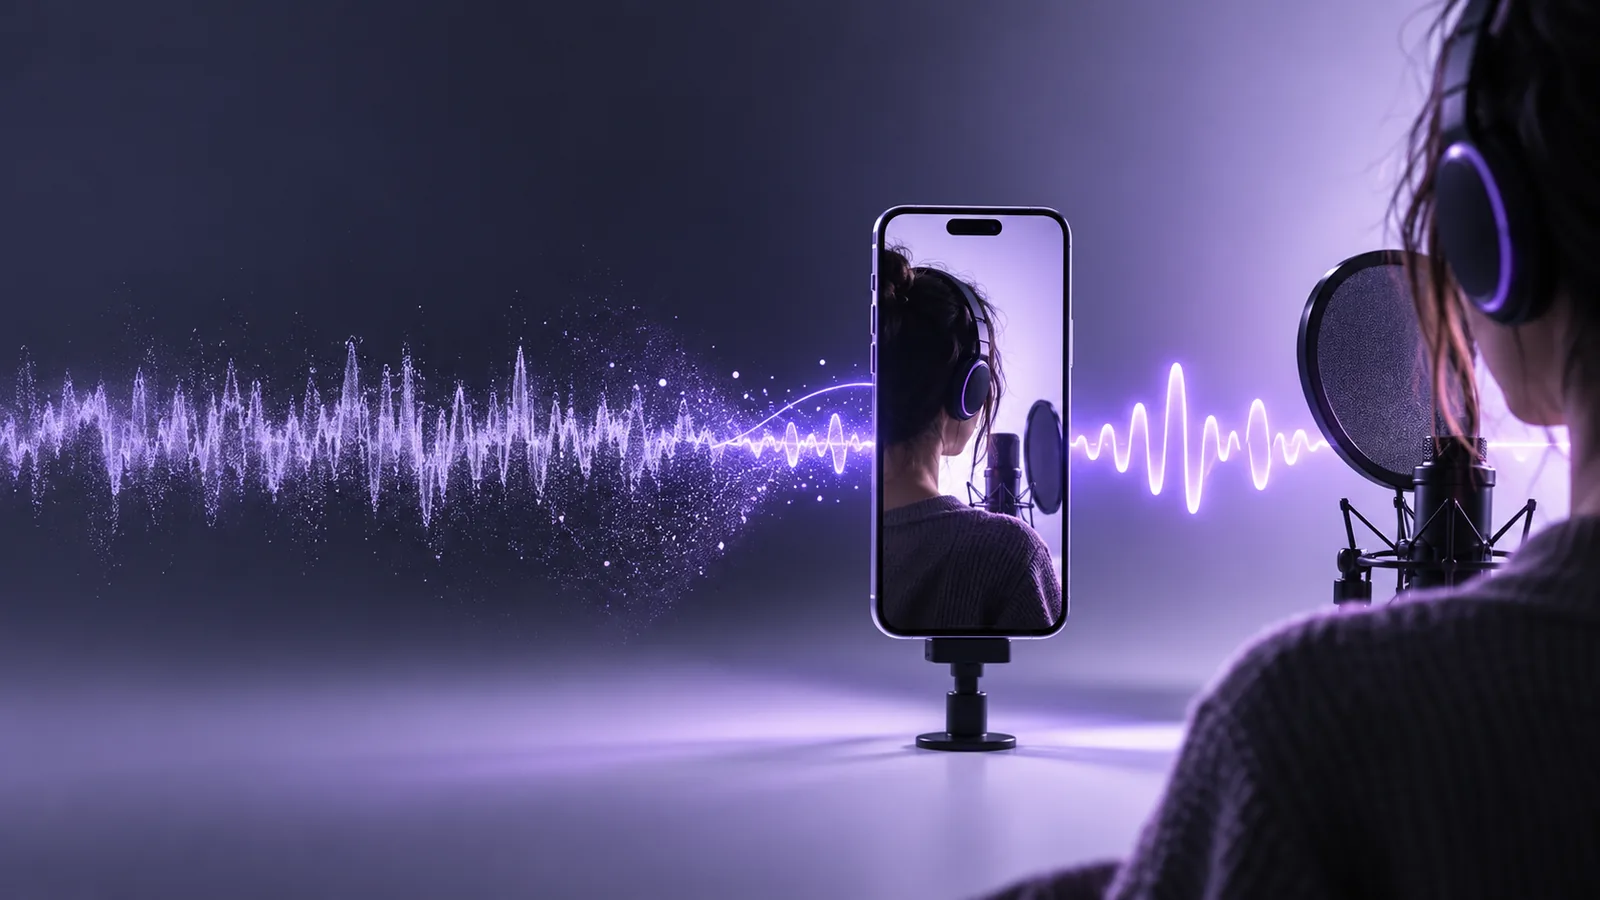
Recording guide

A voice cleaner tutorial free of guesswork

This voice cleaner tutorial free of complicated setup starts with your original recording, a short listening test, and a careful comparison. Voicecleaner explains the workflow; check the destination tool’s current access terms and capabilities before relying on them.

Check available options at the destination
Voicecleaner landing visual

prerequisites

Set up a fair listening test before trying a voice cleaner. A usable original matters more than an aggressive cleanup setting.

Missing words cannot be recovered reliably

If a passing truck completely masks a word, reducing the truck sound will not reveal speech that the microphone never captured clearly. A cleaner may make the surrounding sentence easier to hear without restoring the obscured word.

Workaround

Record the line again when possible, or mark the uncertain word for a human review rather than guessing what was said.
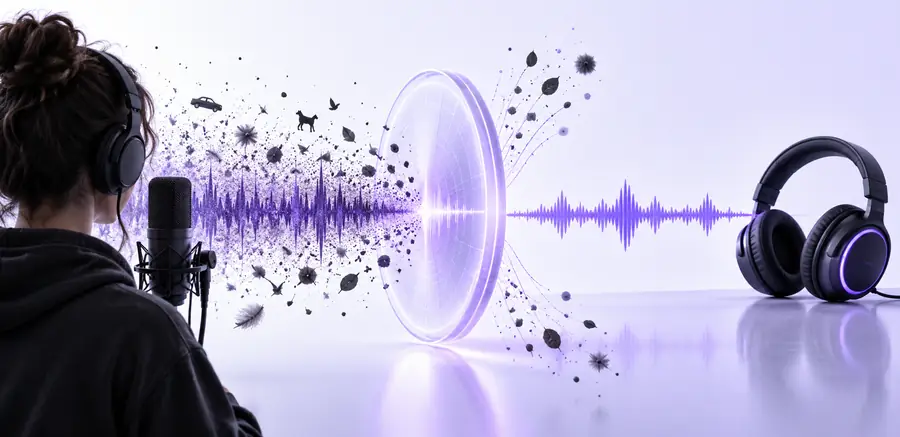

Clipping needs a different fix

A waveform that hits the recording ceiling may sound crunchy even after background noise is reduced. A voice cleaner is not a substitute for correct microphone gain, and extra processing can make clipped consonants more noticeable.

Workaround

Keep the original, lower the input level for the next take, and use a dedicated restoration approach if the current take is irreplaceable.

Room echo may remain

A hollow room sound overlaps the voice in time and frequency. Removing steady hiss does not necessarily shorten reverberation, so do not judge a cleanup solely by how quiet its pauses become.

Workaround

For a new recording, move closer to the microphone and record away from reflective walls. For an existing one, compare any echo treatment separately.

Free access and file handling vary

This guide does not establish whether the destination currently offers free processing, which formats it accepts, or what happens to an uploaded file. Avoid treating a tutorial as a promise about an external service.

Workaround

Check the tool’s current terms, supported inputs, and privacy information before uploading sensitive audio.

numbered steps

Use a short excerpt first. It is easier to hear whether a voice cleaner helps when the test includes both speech and a pause with the unwanted sound.

  1. 1

    Prepare an original and choose a test passage

    Save an untouched copy of the recording. Listen through headphones and note the problem in ordinary terms: steady hum, fan noise, traffic, keyboard taps, or room echo. Select a passage with a few spoken sentences and a brief pause; that gives you a way to judge both voice quality and the noise floor. If the speaker is already faint, avoid raising the volume so much that you mistake loudness for clarity. Before sharing audio with any service, confirm you have permission to use the recording.

  2. 2

    Try a modest cleanup and listen closely

    At the destination, first check which audio inputs and controls are actually available. If it accepts your recording, begin with a conservative noise-reduction choice where one is offered. Listen to an entire sentence, not just the silence between sentences. Pay particular attention to s, f, and t sounds, the ends of quiet words, and natural breaths. A voice cleaner result is useful only if the speaker stays intelligible and recognizably human; a perfectly silent background is not the goal.

  3. 3

    Compare at matched volume and keep the better version

    Play the original and processed passage at approximately the same loudness. Switch back and forth at the same moment in the sentence, then listen once without switching to assess the flow. If the processed version loses syllables or develops watery, metallic edges, try less processing if the tool permits it. Keep the original regardless of the outcome. Before publishing, check the beginning, middle, and end of the complete recording: a setting that helps one quiet passage may damage a different speaker or louder section.

Guides for the next decision

Choose a related guide based on the obstacle you actually hear or the device you used to record.

common errors and fixes

The most common mistake is judging a voice cleaner by its quiet pauses alone. Compare speech at similar volume before deciding that a version sounds better.

Illustration representing a recording before a voice-cleanup assessment Original: listen for the noise
Illustration representing a recording after a noise-reduction assessment Processed: check the speech
These are illustrative images, not waveforms or proof of an audio result. If speech sounds thin or metallic, reduce processing when possible. If noise remains, check whether it changes over time or overlaps the speaker; a stronger setting may remove parts of the voice too.

Apply the workflow to your recording

A voice cleaner should serve the recording’s purpose. The best comparison point changes with the speaker, setting, and intended audience.

Podcast editor

A guest’s microphone picked up a constant ventilation sound. Test a passage with pauses and soft-spoken answers, not only the loud introduction.

Keep the version that makes the guest easier to follow without thinning quiet words. If both versions have problems, favor the intelligible original over an unnaturally quiet edit.

background noise cleanup

Phone video creator

An interview recorded on a phone has street noise and changing speaker distance. Inspect several passages because the noise will not stay consistent.

Preserve the original phone recording and compare processed speech at matched volume. A quieter street is not an improvement if a distant answer becomes harder to understand.

iPhone recording workflow

First-time editor

You have a single narration file and are unsure whether the problem is hiss, echo, low volume, or distortion. Name the problem before testing a fix.

Use the voice cleaner test to assess unwanted sound, then address microphone technique or other defects separately. Avoid repeatedly processing the same exported file.

voice cleanup basics

Course presenter

A lesson contains both clear narration and a brief section with keyboard taps. Compare a quiet passage and the noisy section independently.

Choose consistent speech quality across the lesson rather than optimizing one troublesome moment at the expense of every other sentence.

other voice cleanup approaches

advanced tips

Make the comparison harder to fool

For a more reliable voice cleaner test, compare short passages at matched loudness, then take a break and listen again. Include a quiet word, a sharp consonant, a breath, and a pause in your sample. If separate adjustments are available, change one at a time so you know what helped. Keep notes about where an artifact appears instead of judging the whole recording from a single impressive before-and-after moment. When you are ready to explore a tool, verify its current options and access terms there.

Explore voice tools
  • Keep an untouched original
  • Judge speech as well as silence
  • Check the full recording before sharing

tutorial FAQ

The preparation, listening, and comparison steps require no paid editing software. Whether a particular destination offers free audio processing can change, so check its current access terms before uploading a file.

Compare the original and processed versions at similar volume. Listen for clearer words, preserved consonants, natural breaths, and any metallic or watery sound introduced by processing. A quieter pause alone does not establish a better result.

Noise that changes constantly or overlaps speech can be difficult to separate without affecting the voice. Try a gentler setting if one is available, and check several passages. For future takes, reducing noise at the recording location is often more dependable than trying to remove it afterward.

Not immediately. Test a short passage, then check different speakers, loud sections, quiet sections, and the end of the recording before deciding. Keep the untouched original so you can return to it if the processed version removes useful speech detail.

Clean audio
Clean audio